Thursday, September 30, 2010

Chicken Marengo

Chicken Marengo is a traditional Northern Italian dish that was supposedly first cooked after Napoleon won the Battle of Marengo, from entirely local ingredients and some brandy from Napoleon's flask.  Who knew Napoleon was eating locally and thinking globally long before it was an environmentalist slogan?

Apparently Napoleon was quite supersticious because he named one of his favorite horses Marengo and also ordered his personal chef to cook Chicken Marengo at each battle thereafter.  The Horse Marengo is believed to be the one in the iconic Napoleon portrait.  Marengo was captured at Waterloo, but lived in England until he died at age 38.  His skeleton is still on display at the National Army Museum in London.


Chicken Marengo:
- Whole chicken, in parts, seasoned with salt and pepper
- 4T olive oil
- Yellow onion, thinly sliced
- 1/2 cup wine (white or red)
- 1 cup chicken stock
- 1 bay leaf
- 5 sprigs of fresh thyme (can remove the leaves or put in the whole sprigs)
- Handfull of parsley sprigs
- 2 garlic cloves, crushed
- Can of diced tomatos, with italian spices, undrained
- Juice of one lemon
- 1/4c (1/2 stick) butter
- 1 cup olives (kalamata or black)
- Brandy (optional)

Heat the olive oil over medium heat in a soup pot.  A Le Creuset or similar is good for this dish.  Gently saute the onions until cooked and starting to color slightly.  When cooked, remove from the pot and reserve.

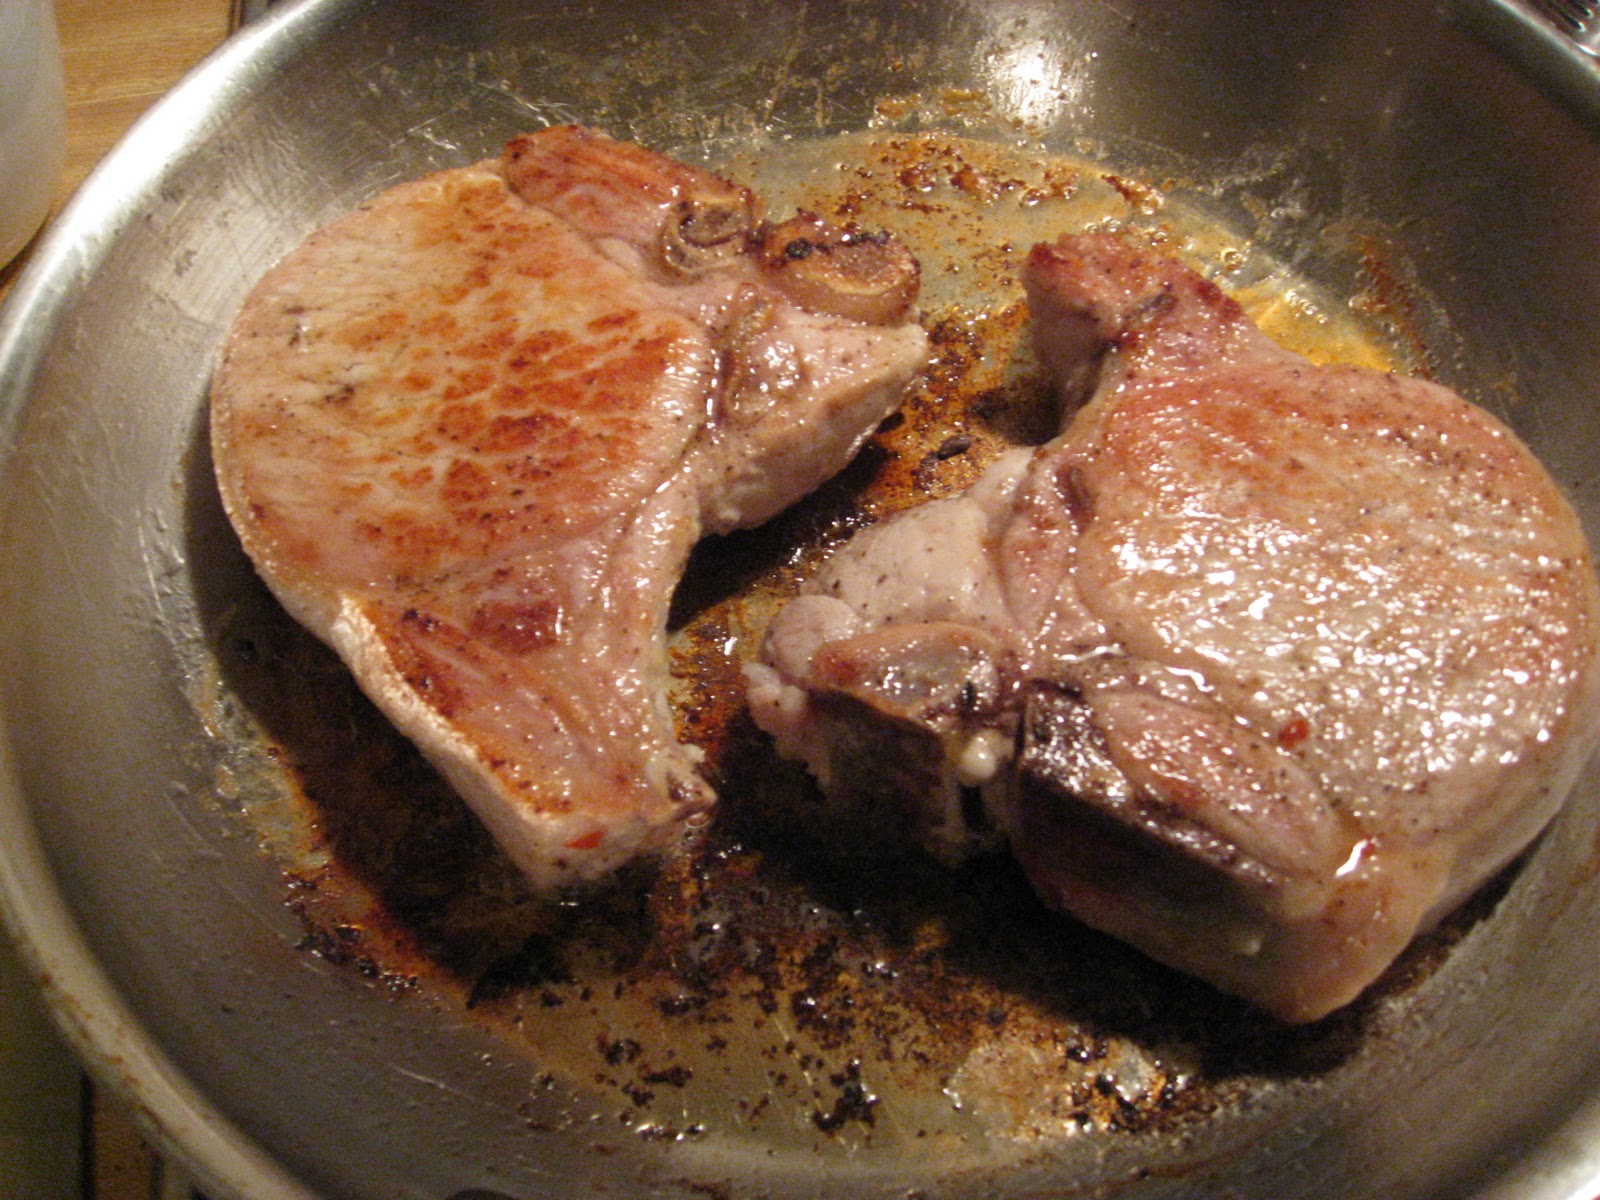
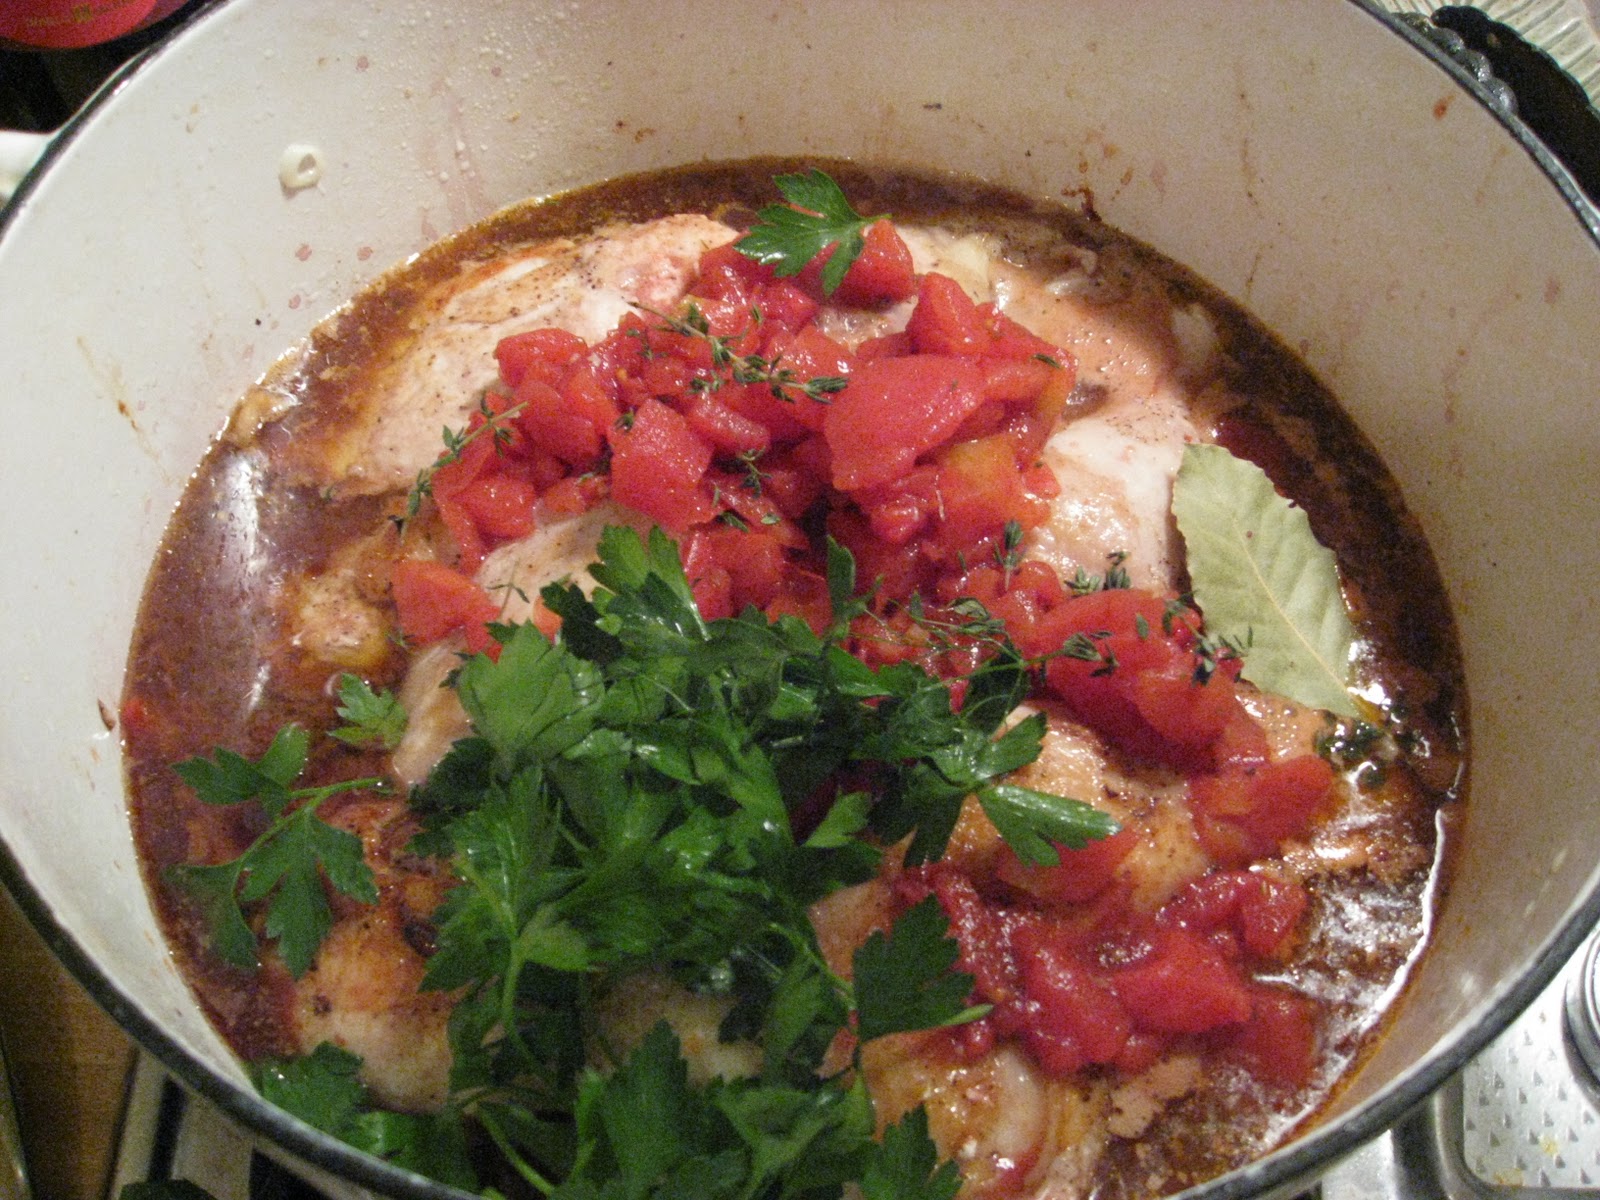
Add the chicken parts and brown on all sides.  When the chicken is browned, add the wine, stock, bay leaf, thyme, parsley garlic, and tomatos (with juice).  Bring to a boil and then reduce to a simmer.  Cover and simmer until chicken is cooked and tender, about 1 hour.


The recipe calls for dry white wine, but I only had red.  Given that this recipe was born out of scavenging for local ingredients easily obtained, I decided to go with the red instead of making a special trip out to the store for white.  It turned out great.  I will keep you posted on how it turns out when I make it with white.
While the chicken is cooking, put the onions and 1 cup black olives in a serving caserole dish.  If desired, you can add mushrooms to the onions and olives.  When the chicken is cooked, add it to the onions and olives in the caserole dish.  At this point, you can pour a chigger of brandy over the chicken.  I skipped this step because I didn't have any brandy.


Strain the solids out of the sauce, bring to a boil and reduce by about half.  Once reduced, add the lemon juice and whisk in butter one tablespoon at a time.  Season if needed.  Pour the finished sauce over the chicken and vegetables and heat through in oven at 350 degrees if needed.

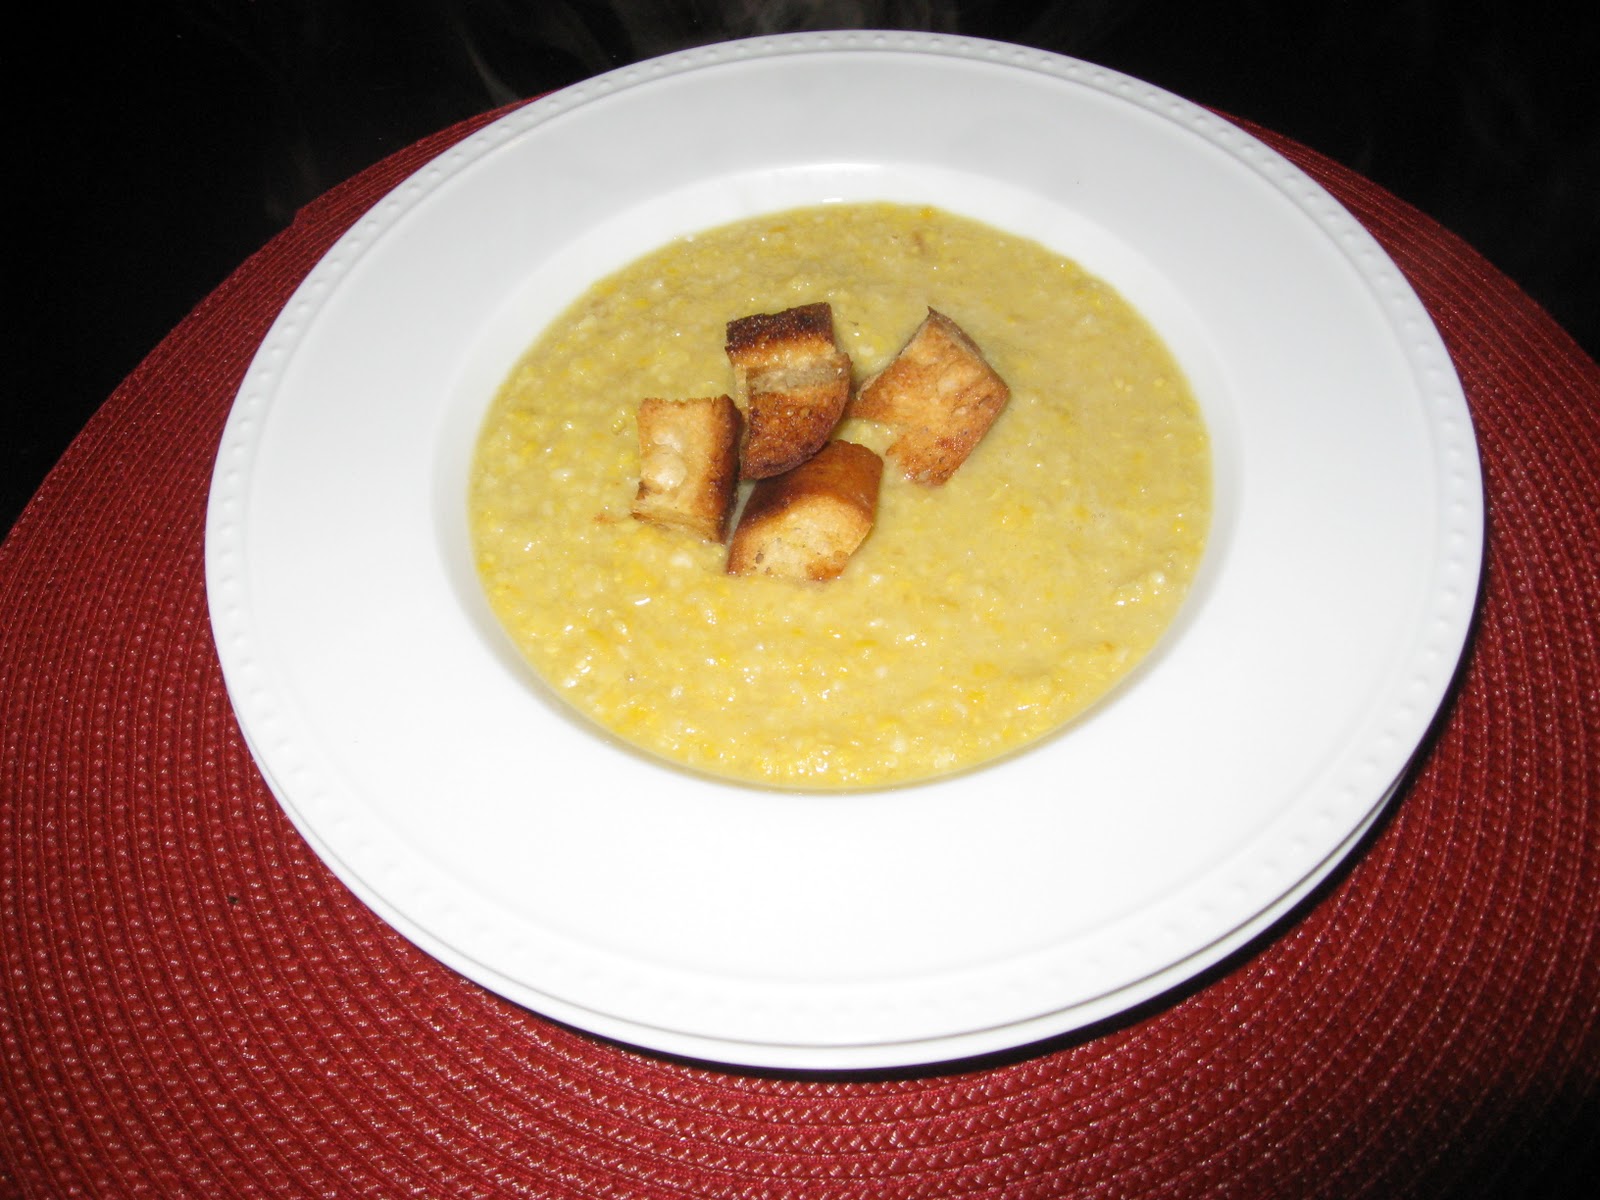
Serve with rice or potatos.


Bon Appetite!


Wednesday, September 29, 2010

Brined Pork Chops with Pan Sauce, Sauerkraut and Squash

This is was my first attempt at brining pork chops.  Or any kind of meat for that matter.  Brining seems to be all the rage lately, particularly with Thanksgiving Turkeys, so I thought I'd give it a try.  I have also read that pork is not as tender and juicy as it was when our grandmothers were cooking pork chops.  I'd like to use this as an excuse for why my pork chops usually turn out a bit tough, but my mom still makes the most tender juicy pork chops with whatever is at the grocery store!

Pork Chops Recipe:
- 1/4 cup sugar
- 1T salt
- 4-5 whole pepercorns
- Bay leaf
- Fresh thyme (I used about 5 whole sprigs, you could also use about 1T leaves)
- 1/2t red pepper flakes
- 4 cups cold water
- 2 thick-cut (about 1.5 inches) bone-in pork loin chops
- Butter
- Salt & Pepper

To make the brine, combine the sugar, salt, pepercorns, bay leaf, and red pepper flakes with the water in a shallow tupperware container or bowl.  Mix to dissolve the sugar and salt.  If you taste the brine at this stage it should be salty-sweet, kind of like kettle corn.  Don't worry, the pork chops will not come out tasting like this!


Put the pork chops in the brine, so that the brine fully covers them.  Let them sit in the refrigerator in the brine for at least 8 hours.  I left mine in for more like 20 hours, and the recipes I consulted advised you can leave them in for up to 2 days.  You'll want to turn them over at least once during the brining process.   I made the brine and started the brining process on Monday night before bed.  I turned the chops in the brine Tuesday morning before leaving for work.  We at them Tuesday night.

When you are ready to cook your pork chops, take them out of the brine and pat them dry with paper towels.  Sprinkle with salt and pepper.  Melt about 1T butter (you could also use oil) in a frying pan.  When it is hot, reduce the heat to medium and put your pork chops in.  Cook about 5-6 minutes on each side, until done.  Pork should cook to about 180 degrees internal temperature. 


If you don't have a meat thermometer you can also test the doneness by pressing on the meat with a spatula or fork and seeing how "bouncy" it is.  You can test this by pressing the tip of your thumb and ring finger together.  Now feel how firm the muscle at the base of your thumb is.  This is approximately how firm your pork chop should be when it is cooked through.

When your pork chops are done cooking, remove them from the pan and let them rest.  I usually put the meat on one of the two dinner plates and then turn the other dinner plate over on top of it.  This will keep it warm enough until it's time for dinner. 

Pan Sauce:
- One finely chopped small shallot (can substitue about 1T finely chopped white or yellow onion)
- 2/3 cup white wine
- 1/2 cup stock
- 1T flour

Do not clean your pan.  If needed add a little bit of oil to your pan.  Add the finely chopped shallots and let them sweat for about a minute.  Don't let them brown as that will turn the flavor bitter.  If they start to brown, jump ahead to the next step and get the wine in the pan to stop the cooking.  Add the white wine and scrape the bottom of the pan with a wooden or rubber spatula to scrape up all of the good browned pork bits.  Bring the sauce up to a soft boil and let it reduce by about half.  Then add the stock and let it reduce again.  If your sauce is thick enough at this point, flavor with salt and pepper and call it done.  If your sauce could be a little thicker, sprinkle in a small amount of flour (start with about 1/2T), mix in, return to a boil.  Your sauce should be thick enough that it will coat the pork chops instead of just running off them.


I paired my pork chops with sauerkraut and quick roasted butternut squash.  You could also do potatoes or other vegetables.  I understand that not everyone loves sauerkraut (Cillian), but I encourage you to try this recipe.  It is much sweeter and softer than straight store-bought 'kraut. 

Recipe:
- Jar of sauerkraut, drained
- Two tart apples, peeled, cored and thinly sliced
- One yellow onion, cut in half and then sliced
- 1 cup white wine
- 2T brown sugar
- Carraway Seeds

Saute the onions and apples in about 1T butter for a few mintues over medium heat until they start to soften.  Add the sauerkraut and the wine and cook over medium heat in a covered pan for about 20 minutes, or until everything starts to meld together and softens.  Add the caraway seeds and brown sugar and cook for another three minutes.  Serve hot!


Butternut Squash:
- One medium sized butternut squash
- Pam

Cut your butternut squash in half and scoop out the seeds.  Spray pam on a cookie sheet (note:  do not use your favorite sheet that you use for cookies - this will likely leave some darked spots on your sheet.  I use an old one exclusively for roasting.)  Roast in the oven at 450 until soft, about 30 minutes.  Cut into pieces and serve.  If squash isn't your favorite vegetable, I have a great spice recipe that I will share this fall that you can put on your squash before roasting it that adds a zing to the flavor. 


And finally a picture of my two constant kitchen companions.  Henry is just checking to see if the squash is fully cooked ;)


Tuesday, September 28, 2010

Quilt for Baby L.A.

Here is another baby quilt that I recently made for another friend's first baby.  This is actually the second quilt that I made for this sweet baby girl.  Just like the zoo animals quilt seemed to perfectly fit baby J.H., the first quilt I made for baby L.A. just wasn't working.  One of the things I enjoy most about making baby quilts is thinking about the parents and the new baby to come.  As I was working on the first quilt I just didn't seem right.  Then I found these fabrics at my local quilt shop and decided the best thing would be to start over! 


This pattern is one of my favorites for baby quilts - Illinois Road.  I have probably made this quilt more than any other.  The quilting on this quilt is also done by hand.  You can just see that there are quilted shamrocks in the large pink blocks.  This plays on a shamrock print in the green batik.


The first quilt that I made for baby L.A. is now being finished for my local Project Linus chapter:  http://www.projectlinus.org/about.html.  This is a great charity that donates handmade blankets to children in need in hospitals, shelters, social service agencies, etc.  This is a great charity and they accept all kinds of quilts, handtied blankets, etc.  The only requirements are that it be handmade and that it be child appropriate.  I definitely encourage everyone to check it out.  It's a great way to honor all the well loved and cared for babies who I usually make quilts for.  As soon as it's done, I'll post pictures of the quilt that will be donated.

Monday, September 27, 2010

Sweet Corn Soup

Dinner tonight was a simple sweet corn soup.  This is a great easy weeknight meal, particularly if you make your chicken stock over the weekend.  You could even pre-dice your onions and cut the corn of the cob on Sunday to cut down on the prep time.  If you are lucky enough to live in an area that still has sweet corn, we definitely recommend that you try this before fall sets in.  This recipe really showcases the sweet summery flavor of fresh corn, so start with corn on the cob as fresh and local as you can find.  There are few other ingredients, so the corn will shine through.


Ingredients:
- 5T butter, divided
- 2T olive oil
- 1 large or two small yellow onions, diced
- Kernels from 8 ears of corn
- 4 cups chicken stock (vegetable stock may be used)
- Day-old bread for crutons
- Salt and pepper

Cruton Recipe:
- To make the crutons, melt 2T butter.  Cut the bread into half-inch cubes and toss in the melted butter.
- Toast on a cookie sheet at 375 degrees until golden, about 10-15 minutes.


Soup Recipe:
- Melt the remaining 3T butter and 2T olive oil in a soup pot or dutch oven.
- Add the diced onions and reduce the heat to low.  Sweat the onions until translucent and very soft, about 10 minutes.
- Add 4 cups chicken stock and corn kernels, bring up to a boil, and then reduce to a simmer for about 5 minutes until hot throughout.
- Remove from heat and pure, either in a cuisinart or with an immersion blender.  I prefer to use a cuisinart for this as you will get a more even texture and consistency, but an immersion blender is fine too.


Serve with crutons and sour cream or creme fraiche if desired. 


My soup is slightly more green than yours may turn out.  This is because I used leeks in my most recent batch of chicken stock, and, while this makes a great tasting stock, it can take on a slightly disturbing greenish color.  More on stock making soon....

Bon appetite!


Quilt for Baby J.H.

This is a quilt I made for one of my friend's newest additions to her family.  This quilt was a personal milestone for me in my quilting life because it is the first quilt made entirely from my stash!  I also love the bright colors of the zoo animals with the multi-colored zebra print log cabin around them.  One of the great things about baby quilts is that the simplest quilts to piece together can still be interesting and fun!  It is all about fabric selection, which is one of my favorite steps of making a quilt. 


I did all of the quilting on this by hand, with quilting in the ditch around each animal block, in the ditch around the zebra-print log cabin, and then two larger squares in the bright blue sashing.  Doing long straight lines like this takes no time, especially with a smaller baby quilt, and is the perfect thing to do while watching a movie or TV.


The final fun element of this quilt was a happy coincidence.  I had pieced the whole top when I learned that the baby's nursery was an alligator theme!  By chance I had included a square with a cute alligator in the lower right block.  I love it when a quilt just comes together so perfectly.  Sometimes a quilt just seems meant for the little person who receives it. 

Welcome to my Blog!

Welcome to The Barefoot Quiltessa! 

During the days I am an environmental litigator in Washington, DC working for a small firm.  Most nights I am trying new recipes and working on quilts or our new home.  I live in the District with my husband and two beagles, George and Henry.  I started this blog to document and share my adventures as a burgeoning chef and quilter. 

I have been quilting for about five years now, and have made countless baby quilts, one wedding quilt, and one wall-hanging for our 1920s row house.  I recently took over the attic of our new home as my quilting studio, and my husband upgraded my sewing machine to a beautiful new Jenome!  As a result, my productivity has skyrocketed, and I am taking on bigger and bigger projects.  I recently started working on an Irish Crosses queen size quilt for our four-and-a-half-year-old neice, as she has recently been upgraded to a very big girl bed!  It is in pink batiks and purple prints, with photos to follow soon! 

I have loved cooking for as long as I can remember.  When I was probably eight or nine I even had my mom videotape my own cooking show!  I recently took a three week course in sauces, which has sparked a renewed interest in classic cooking techniques and recipes.  Last night I tried Coq au Vin for the first time, and it was a huge success!  Luckily my husband loves just about everything I make, and the dogs are constant kitchen companions for the inevitable scraps that fall from the counter.  Last night I spilled homemade chicken stock on the floor... they were thrilled! 

More to come!